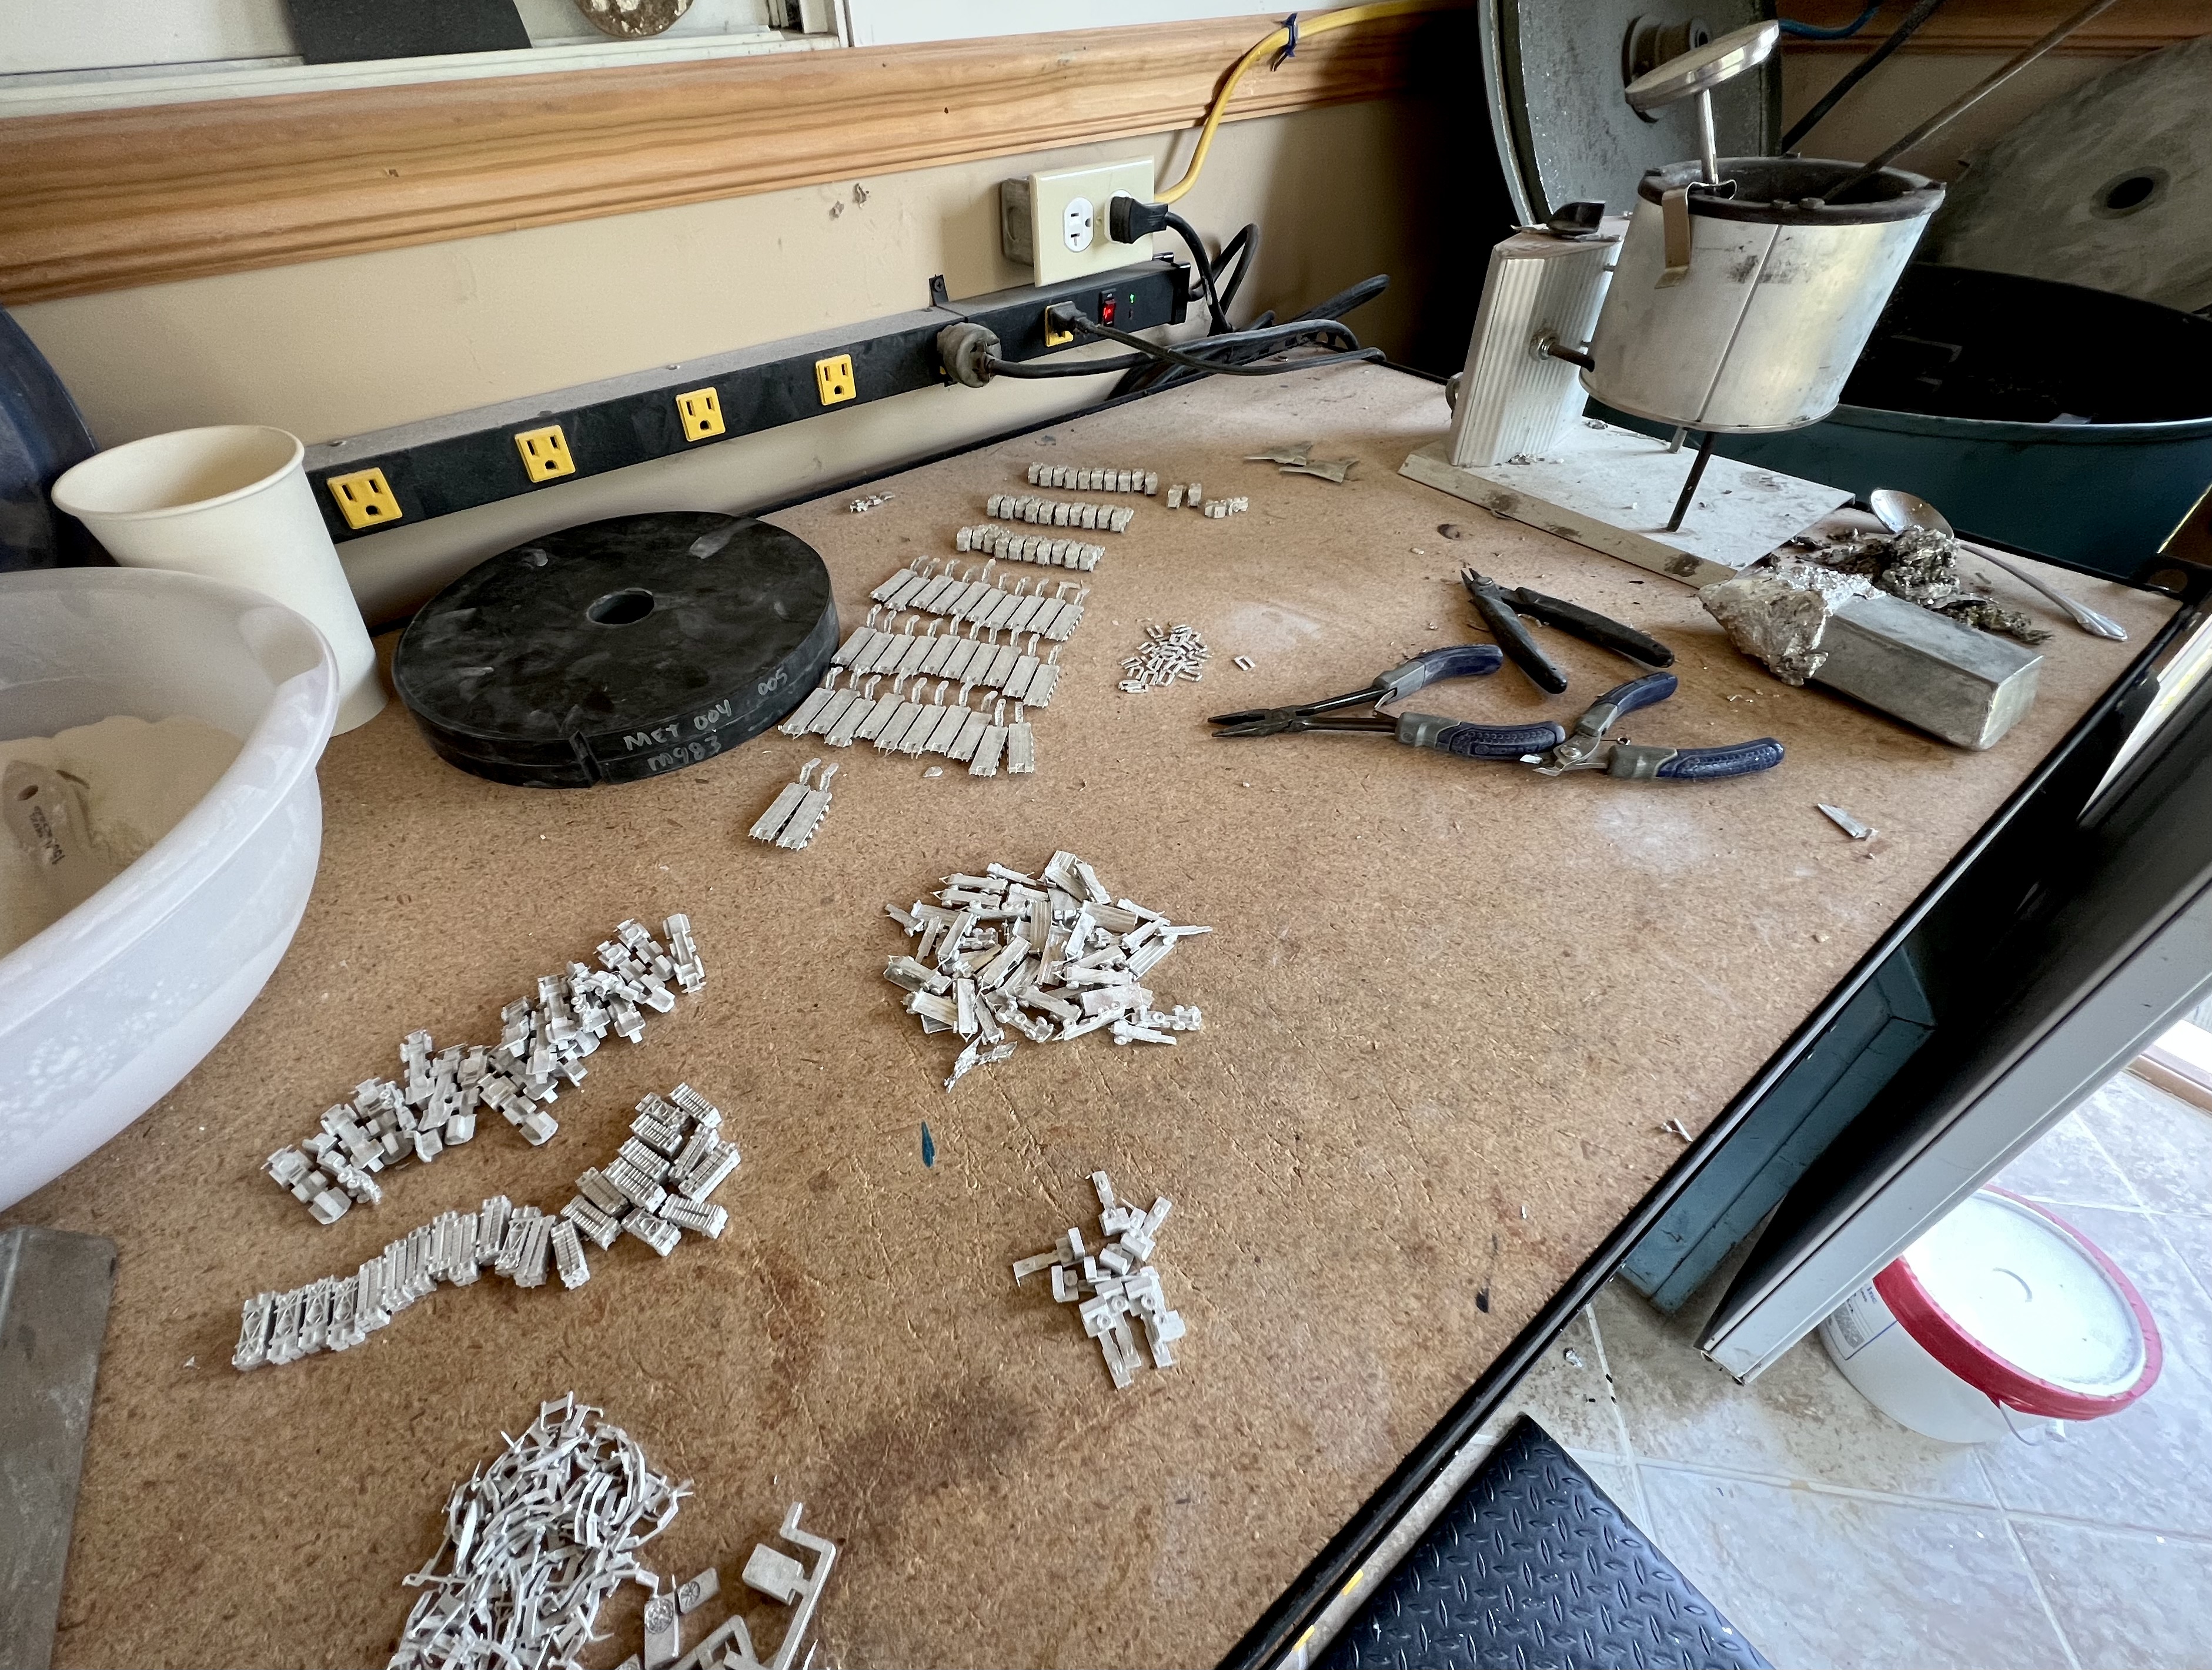
Preparing Your Workspace
Before you start assembling your pewter miniatures, you should set up a clean and organized workspace. Make sure you have plenty of light and a comfortable place to sit. Use a towel or mat to protect your work surface from damage.
Gathering Your Tools
Assembling pewter miniatures requires a few basic tools, including a hobby knife, super glue, and tweezers. You may also want to invest in a set of hobby files, which can help smooth out any rough edges or imperfections on the miniature. Additionally, a magnifying glass can be useful for working on small details.
Testing the Fit of Components
Before you apply any glue, it's important to test fit the miniature's components to make sure they fit together properly. This will help you identify any potential issues and make adjustments before you glue everything together. It's much easier to make changes before the glue is applied than after.
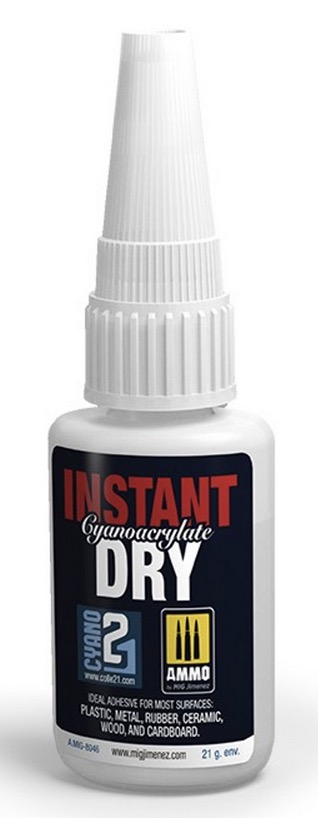
Using the Right Glue
When it comes to assembling pewter miniatures, super glue (also known as CA glue) is the preferred adhesive. This type of glue dries quickly and provides a strong bond. However, be careful not to use too much glue, as it can create a messy appearance and potentially damage the miniature.
Pinning Miniatures
Pinning is the process of drilling a small hole through the miniature's components and inserting a small metal rod to reinforce the bond. This technique is particularly useful for larger or more complex miniatures, as it provides extra stability and support.
Preparing Miniatures for Gluing
Before you apply any glue, it's important to prepare the surfaces of the miniature's components by removing any mold lines or excess metal. Use a hobby knife or files to carefully remove these imperfections, being careful not to damage the miniature in the process.
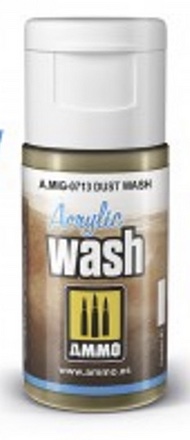
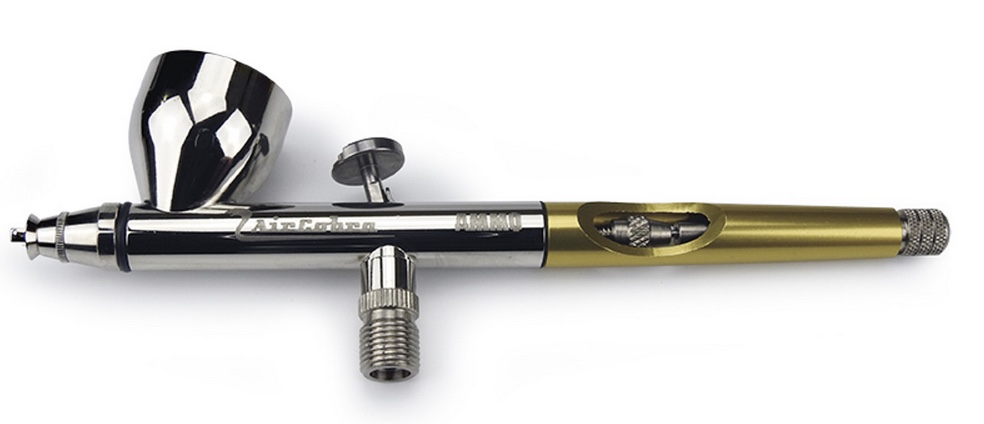
Painting Techniques
Once you have assembled your pewter miniature, it's time to paint it. Painting can be a daunting task for some, but with practice and patience, anyone can achieve a great result. Some good painting techniques to keep in mind include thinning your paint, building up layers gradually, and using a steady hand.
Don't be Afraid to Ask for Help
Assembling pewter miniatures can be a challenging task, especially for beginners. If you're struggling with a particular step or technique, don't be afraid to ask for help. There are many online communities and resources available for wargaming enthusiasts, and they are often happy to offer advice and guidance.
In conclusion, assembling pewter wargaming miniatures requires a combination of skill, patience, and attention to detail. By following these best practices, you can create a high-quality miniature that will be a valuable addition to your collection. Remember to take your time, use the right tools and techniques, and don't be afraid to ask for help when you need it. Happy gaming!
Materials Needed
Before we begin, make sure you have the following supplies on hand:
Step 1: Basecoat
First, make sure your vehicle miniature is primed and ready for painting. Begin by applying a thin basecoat of dark blue paint to the windows using a fine detail brush. This will serve as the foundation for the reflections and depth we will create in the following steps. Be patient and use thin coats to avoid obscuring the details of the window frames.
Step 2: Create Reflections
Now, we'll add some reflections to the windows. Mix a small amount of light blue paint with your dark blue base color to create a slightly lighter shade. With your fine detail brush, carefully paint thin, horizontal lines across the windows. These lines should be uneven and irregular to simulate the appearance of natural reflections on glass.
Step 3: Enhance the Reflections
To make the reflections more pronounced, add a bit more light blue paint to your mixture, creating an even lighter shade. Apply this color sparingly, focusing on the areas where the reflections would be most prominent. This could be the upper part of the windows, the edges, or any curved surfaces. Remember, less is more in this step, so use a light hand and build up the effect gradually.
Step 4: Add Depth with Shadows
Next, we'll add depth to the windows by painting shadows. Using your dark blue paint, carefully apply thin, vertical lines on the windows, intersecting with the horizontal reflection lines. These lines should be irregular and varied in length, similar to the reflections. This will create the appearance of depth and make the windows look more three-dimensional.
Step 5: Final Highlights
For the final touch, we'll add some subtle highlights to make the windows appear even more realistic. Using a small amount of white paint, create a few tiny, irregular dots on the upper part of the windows or the areas with the most reflections. Be sure to apply these highlights sparingly, as too much white can make the windows look unrealistic.
Step 6: Clean Up
Once you're satisfied with the appearance of your windows, use your fine detail brush and the appropriate color to touch up any areas where the paint may have strayed onto the window frames. This will ensure a crisp and clean final result.
Conclusion
With these simple steps, you can create realistic windows on your vehicle miniatures, adding depth and visual interest to your models. Remember, practice makes perfect, so keep experimenting and refining your technique to achieve even better results. Visit GCmini.com for a wide range of miniatures, paints, and accessories to help you bring your creations to life. Happy painting!
]]>Basing materials are an essential part of miniature painting. They help set the scene and create a more immersive experience for players. There are many different types of basing materials available, each with its own unique texture, color, and effect. In this article, we'll discuss some of the most popular basing materials and how to use them.
1.Sand:
Sand is a popular basing material that can be used to create a variety of
effects. Use fine-grain sand for a smooth, even texture, or use larger grains
for a more rugged look. Apply a layer of PVA glue to your base, sprinkle the
sand over it, and let it dry.
2.Rocks: Rocks can add a realistic and natural look to your bases. Look for small rocks or gravel that can be glued onto your base. You can also use larger rocks as a centerpiece for your base.
3.Grass
and Flock: Grass and flock can be used to create a variety of effects, from
lush fields to dry deserts. Apply a layer of PVA glue to your base, sprinkle
the grass or flock over it, and let it dry. You can also mix different colors
and types of flock for a more varied look.
4.Water Effects: Water effects can be used to create realistic-looking water on your bases. Apply a layer of clear resin or water effect gel to your base, and let it dry. You can also add in some paint or other effects to create ripples or waves.
5.Cork:
Cork can be used to create a more three-dimensional look to your bases. Glue
small pieces of cork onto your base, and then cover it with sand or flock to
create a natural and realistic look.
6.Texture Paint: Texture paint is a pre-made paint that includes texture elements, such as sand or gravel. Apply the texture paint to your base, and let it dry. You can then paint over it to create a more detailed look.
In conclusion, basing materials are an essential part of miniature painting.
Sand, rocks, grass and flock, water effects, cork, and texture paint are just a
few of the many materials available. Each material can be used to create a
unique and immersive scene for your miniatures. GCmini.com carries a wide range
of basing materials that can help you achieve the perfect technique for your
bases. With practice and patience, you can create stunning and realistic bases
that will enhance your miniature painting experience.
1.Choose
the Right Decals: Decals come in a variety of sizes and designs. Choose the
right decal for your miniature and the effect you want to achieve. Look for
decals that are compatible with the size and texture of your miniature.
2.Clean
Your Surface: Before applying your decal, clean the surface of your miniature.
Use a brush or cotton swab to remove any dust or debris. This will help your
decal adhere more effectively.
3.Apply a Gloss Varnish: Applying a gloss varnish to your miniature before applying the decal can help it adhere better. The varnish will create a smooth surface for the decal to adhere to and prevent it from wrinkling or bubbling.
4.Cut
the Decal: Cut your decal as close to the design as possible, leaving only a
small margin around the edges. This will help the decal blend in with the
surface of your miniature.
5.Apply
the Decal: Using a pair of tweezers or a toothpick, carefully place the decal
onto the surface of your miniature. Press down gently to remove any air bubbles
or wrinkles.
6.Seal the Decal: Once the decal has dried, seal it with a varnish or sealer. This will protect the decal from wear and tear, and help it blend in with the surface of your miniature.
In conclusion, decals and transfers are a great way to add extra details and
designs to your miniatures. Choose the right decal, clean your surface, apply a
gloss varnish, cut the decal, apply the decal, and seal the decal. GCmini.com
carries a wide range of painting supplies that can help you achieve the perfect
technique for your decals and transfers. With practice and patience, you can
create stunning and unique miniatures that will stand out on the tabletop.
Weathering is a technique used in miniature painting to add realism to your miniatures. It involves creating the effects of age, wear, and damage to your miniature, making it look like it has been through battles and weathered the elements. In this article, we'll discuss some tips and tricks for using weathering techniques to add realism to your miniatures.
1.Choose
the Right Weathering Products: There are many different weathering products
available, including pigments, washes, and rust effects. Choose the right
products for your miniature and the effect you want to achieve.
2.Use
Reference Images: Look for reference images to get an idea of the weathering
effects you want to achieve. Look for images of real-life objects and try to
recreate the effects on your miniature.
3.Use Dry Brushing: Dry brushing can be used to add weathering effects to your miniature. Use a dry brush and a lighter color to paint the raised areas of your miniature, creating the effects of wear and tear.
4.Use Washes: Washes can be used to add depth and texture to your miniature. Apply a wash over your miniature and let it settle into the recesses and details, creating a more realistic and natural look.
5.Use
Pigments: Pigments can be used to create rust, mud, and other weathering
effects. Apply pigments to your miniature and use a brush or cotton swab to
blend and spread the pigment, creating a realistic and natural look.
6.Practice:
Weathering requires practice and experimentation. Start by practicing on spare
parts or test miniatures. Experiment with different weathering products and
techniques until you achieve the desired result.
In conclusion, weathering is an essential technique in
miniature painting that can help you achieve stunning and realistic results.
Choose the right weathering products, use reference images, use dry brushing,
use washes, use pigments, and practice. GCmini.com carries a wide range of
weathering products from AMMO By Mig Jimenez that can help you achieve the
perfect weathering technique for your miniatures. With practice and patience, you can create stunning and realistic miniatures that will stand out on the
tabletop.
1.Research Your Vehicle: Before you start painting, research your historical military vehicle. Look for reference images or videos to get an idea of its colors, textures, and details. This will help you create a more accurate and realistic representation of the vehicle.
2.Choose
the Right Colors: Historical military vehicles often have unique colors and
textures. Look for colors that complement the vehicle's natural tones, such as
greens and browns for land vehicles, or blues and greys for naval vehicles.
3.Use
Airbrushing: Airbrushing is a useful technique for painting historical military
vehicles. It can help you achieve smooth and even layers of paint, and it can
save you time when painting larger surfaces.
4.Use
Different Brushes: Historical military vehicles require different brushes than
other miniatures. Look for larger brushes with longer bristles to help you
cover larger areas of the vehicle. Use smaller brushes for more intricate
details.
5.Use
Weathering Effects: Historical military vehicles often have weathering effects,
such as rust, dirt, and grime. Use washes, pigments, and other weathering
products to create these effects, making your vehicle look more realistic and
battle-worn.
6.Practice
Patience: Painting historical military vehicles requires patience. Take your
time and focus on each detail, layering your colors and creating smooth
transitions. Don't rush the process, and be willing to make adjustments as
needed.
In conclusion, painting historical military vehicles requires a different
approach than other miniatures. Research your vehicle, choose the right colors,
use airbrushing, use different brushes, use weathering effects, and practice
patience. GCmini.com carries a wide range of painting supplies that can help
you achieve the perfect technique for your historical military vehicles. With
practice and patience, you can create stunning and realistic vehicles that will
stand out on the tabletop.
Painting larger miniatures like vehicles and war machines can be a daunting task. These miniatures often have more intricate details and require different painting techniques than smaller miniatures. In this article, we'll discuss some tips and tricks for painting larger miniatures to help you achieve stunning and realistic results.
1.Plan
Your Paint Scheme: Before you start painting, plan out your paint scheme. Look
for reference images or videos to get an idea of the colors and textures of the
vehicle or war machine. This will help you create a more accurate and realistic
representation of the miniature.
2.Use Airbrushing: Airbrushing is a useful technique for painting larger miniatures. It can help you achieve smooth and even layers of paint, and it can save you time when painting larger surfaces.
3.Use
Different Brushes: Larger miniatures require different brushes than smaller
miniatures. Look for larger brushes with longer bristles to help you cover
larger areas of the miniature. Use smaller brushes for more intricate details.
4.Thin
Your Paints: Thinning your paints is essential when painting larger miniatures.
Use water or a medium to thin your paints and create a smooth, even
consistency. This will help you achieve a more natural and realistic look.
5.Use
Washes and Glazes: Washes and glazes can help add depth and dimension to your
larger miniatures. Use them to create shadows and highlights, and to add
weathering effects to the miniature.
6.Practice Dry Brushing: Dry brushing is a useful technique for highlighting raised areas on larger miniatures. Use a dry brush and a lighter color to paint the raised areas of your miniature, creating a more natural and realistic look.
In conclusion, painting larger miniatures like vehicles and war machines
requires a different approach than smaller miniatures. Plan your paint scheme,
use airbrushing, use different brushes, thin your paints, use washes and
glazes, and practice dry brushing. GCmini.com carries a wide range of painting
supplies that can help you achieve the perfect technique for your larger
miniatures. With practice and patience, you can create stunning and realistic
larger miniatures that will stand out on the tabletop.
Click here to see our selection of pewter miniatures in 1/285th (6mm) scale.
]]>Creating custom color schemes for your miniatures can be a fun and rewarding experience. It allows you to put your own unique spin on your miniatures and make them stand out on the tabletop. In this article, we'll discuss some tips and tricks for creating custom color schemes for your miniatures.
1.Look
for Inspiration: Inspiration can come from anywhere, from movies and TV shows
to nature and everyday objects. Look for colors that complement each other and
create a cohesive color scheme.
2.Use
a Color Wheel: A color wheel is a tool that can help you create custom color
schemes. Look for colors that are complementary or analogous, meaning they are
next to each other on the color wheel. These colors will create a more natural
and harmonious look.
3.Test
Your Colors: Before applying your colors to your miniature, test them on a
spare piece of plastic or paper. This will help you see how they look together
and make any necessary adjustments.
4.Use
Contrast: Contrast can help make your miniature stand out. Look for colors that
are opposite each other on the color wheel, such as red and green or blue and
orange. These colors will create a more striking and eye-catching appearance.
5.Use
Different Shades and Tones: Using different shades and tones of the same color
can create a more interesting and dynamic color scheme. Look for colors that
are lighter or darker than your base color and use them to create highlights
and shadows.
6.Practice:
Creating custom color schemes requires practice and experimentation. Start by
practicing on spare parts or test miniatures. Experiment with different color
combinations and techniques until you achieve the desired result.
In conclusion, creating custom color schemes for your miniatures is a fun
and rewarding experience. Look for inspiration, use a color wheel, test your
colors, use contrast, use different shades and tones, and practice. GCmini.com
carries a wide range of painting supplies that can help you create the perfect
custom color scheme for your miniatures. With practice and patience, you can
create stunning and unique miniatures that will stand out on the tabletop.